Stepping into All-Grain Brewing
On May 28 2009 I attempted to craft my first all-grain recipe. I had some handy new equipment I made or had donated to me by my brother and some of his friends. I read a lot on the subject and was given a great DVD entitled Stepping into All-Grain Brewing to help guide my craft. I needed all the help I could get, and, despite my best efforts, I still screwed up quite a bit. I’ll outline the steps and procedures here and clue you into easier ways.
I’ve been brewing on and off since 2003, but those have all be extract brews. Some of those brews were excellent and I would never dream of downplaying the quality that could come from an extract brew. The brewing process is the same in both cases, what differs is the way in which the sugars are put into the water. In an extract brew, brewers buy a set amount of malt extract. This is a thick syrup-like substance that differs in color and flavor depending on the type of malt used. All-grain uses bulk grain on which the sugar crystals are still attached and the sugars must be washed off, or extracted, from the grain. To be sure, extract save time and energy, but you are bound to the types of malt present in the extract, whereas whole grain you can use any combination you wish.
Equipment for Extracting
My last extract brew was made sometime in April to be ready for my friends wedding at the end of May. Since that time I’ve been slowly collecting many new contraptions to prepare myself for all-grain brewing.
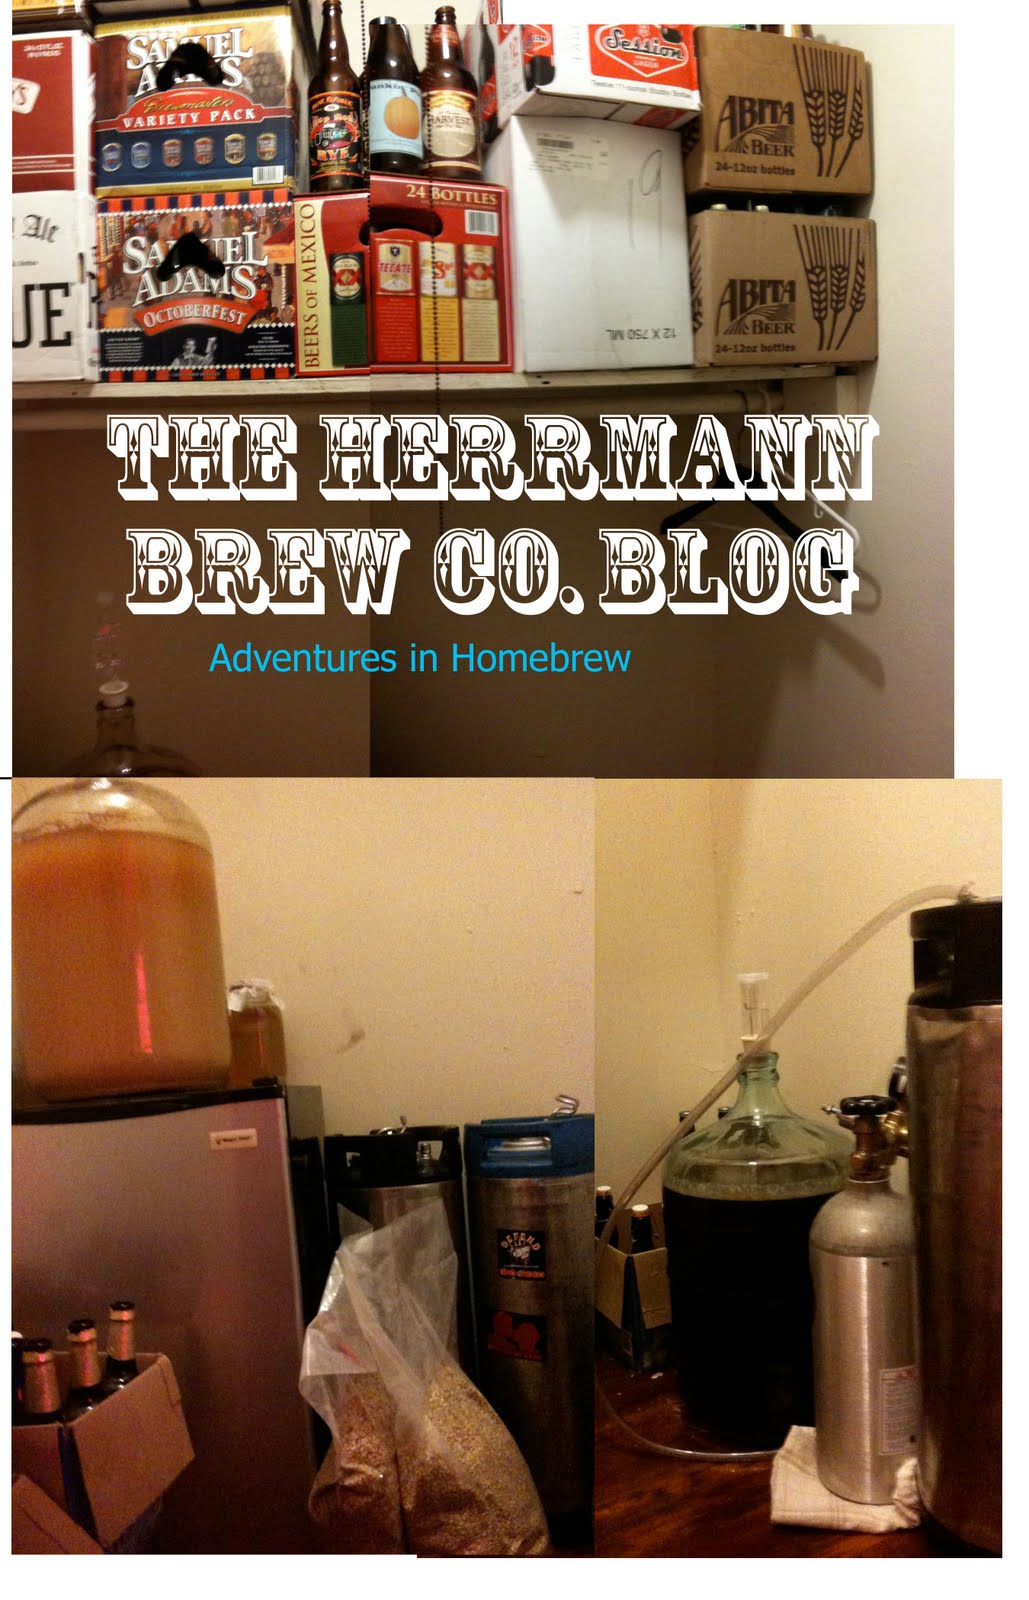
The first was a gift from my brother, who in turn got it as a gift from another home-brewer. It is an Anheuser-Bush half-keg you’re used to seeing, converted for brewer’s use. Roughly 14.5-15.5 gallons, a hole was cut in the top, about a foot in diameter and a meshed two-piece false bottom was cut and measured to fit snugly around the diameter of the keg with some supports there to keep it in place. A false bottom is simply a device at the bottom of a lauder tun that allows water to flow through while holding the grain in place. At the bottom of the keg, below where the false bottom was to be placed, is a small hole. Through that drilled hole a small copper pipe was placed, bent as to catch only the water at the bottom of the keg. On the other side is a simple ball-lock mechanism to turn the flow of water on and off. There is a garden hose attachment to let the water flow out, and this was key to me. I had planned to use this keg for two purposes, as a lauder tun and a cooling implement.
For some time wort chilling presented a problem to me. When the beer is done brewing, but before fermentation takes place, the beer is a sweet unfermented concoction called wort. When it comes out of the boil it is very near boiling, maybe 210 degrees. This is way to hot for yeast to survive. So the wort must be cooled to approximately 80 degrees, called pitching temperature before you can pitch, or add, the yeast. A problem is presented because the longer it takes to cool, the more bad flavors will be introduced into the beer as well as unwanted bacteria at certain temperature. In the past I would leave all 5 gallons of brew in its brew pot and submerge the pot into a cold bath. This took some hours to cool and the beer actually pulled some flavors off of the stainless steel pot. The second piece of equipment I made, with my father-in-law’s help, was a coil of copper tubing I was going to use as a wort chiller. It was not difficult to make and it could be bought from a homebrew store for $60-$70. I went to Home Depot and bought 20 feet of copper tubing for $18, and industrial strength washer hose with garden hose size attachments for $15, various attachments to connect the hose to the copper tubing for $10, and a few feet of vinyl tubing for next to nothing, maybe $2. So I got everything I needed for around $45. First my father-in-law and I looped the tubing around a bucket roughly ½ foot in diameter. The idea was that I would submerge this copper coil into ice or cold water and flow the beer through it. It would go into the tubing 210 degrees and, hopefully, come out pitching temperature. So we left the copper straight for 6 inches then started the coil. We looped it over and over till it was about 1½ foot deep then bent the other end straight up so that it was parallel with the 6-inch beginning. At the 6-inch beginning we placed quite an attachment. The tubing was ¼-inch and the industrial strength hose (remember 210 degree water would come through) was ¾-inch so it was quite a feat linking those two, but we linked them with brass fitting and it worked. On the other end I simply forced the 5/16-inch vinyl tubing onto the copper, not worrying about melting because on this side the wort would be chilled, hopefully. So the idea was to attach the wort chiller to the keg with the garden hose attachment, dump the boiled wort into the keg, let the ball-lock open, and allow the wort to flow through the chiller while it was submerged in cold water or ice, and collect the chilled wort out of the vinyl tubing at the other end. Sounds simple. Ah, but the best laid plans of mice and men…
The other plan for the keg was to be both a mash tun and a lauder tun. A mash tun is a large vessel that can hold temperature for extended periods. A lauder tun is a large vessel that can separate the water from the grain. To mash, the grain must be put into water that is roughly 145-155 degrees. It is at this temperature that the natural enzymes present in the grain start to convert the complex starches into useable, fermentable sugars. This would occur naturally at any temperature, but it works most efficiently at this temperature. After sitting or resting at this temperature for about an hour the sugars are ready to be extracted. That is when the grain is transferred to the lauder tun, unless your mash tun and lauder tun is the same vessel. Here there must be a false bottom and some way to let the water run off, like a ball lock. When the water runs off it will be milky and full of grain husks and other nastiness. A clarification process must be done called vorlauf. To vorlauf the milky water is gently sprinkled back into the grain. I collect the runoff in a pot and pour it back into the lauder tun over a colander to gently rain on the grains. It is important to do this gently because you want all the grain to settle on top of the water to form a natural filter, called a grain bed. If you do it right, the grains will compact and float at the top of the lauder tun. All of the water that runs through it will be filtered from nastiness and at the same time its sugars will be extracted most efficiently. Just letting the water run through the grains will not get all of the sugars, so you must sparge. Sparging is the process of adding water to grain to wash all of the sugars off. Again it must be done gently as to not disturb the grain bed. You want the water to be the same temperature of the grain as not to shock it, but not too hot because it will collect the bad taste of the grain husks. Since the grain will absorb some of the heat, you want your water a little hotter, around 160-170 degrees. Sparging should be slow and can take from 30min to 2 hours plus. You shouldn’t over sparge, again because you can pull some of those husky flavors. You want to use enough sparge water to bring your volume of water around 6-7 gallons, then boil it down to your target 5 gallons.
Sounds easy, right? The entire process I’ve just outlined can be skipped if you use malt extract. In extract brewing you need only take a prescribed amount of water, between 3 to 5 gallons, bring it to a boil, add your syrupy extract, and bring it back to a boil. There is a smaller version of all-grain called mini mashing. Mini mashing might use 1 or 2 lbs of grain, do an abbreviated process of what I’ve outlined above, then use extract for the rest of the sugars. Mini mashing will add the subtle flavors and mouth feel of an all-grain batch without all the work and mess. Right now my wife is begging me to go back to extract brewing, as she’s always consigned to assistance with my laborious hobby. For better or worse baby…
Equipment for Brewing
A friend of mine told me a story recently. He had some bigwig executive from one of California’s large nation-wide brew houses visiting his branch. Together they went to a local hardware store and they were shocked to see all you needed to homebrew for cheap, advertised as “crawfish equipment.” It’s true, I told him, our culture breed home brewers. Since a child I’ve been around propane tanks and burners and large pots of dangerously hot liquids. It’s a wonder more of us here in south Louisiana don’t brew. For my 21st birthday my parents got me a 15-gallon stainless steel crawfish pot. That, and a rusty propane burner was all I needed to start brewing 5 gallons of beer at a time.
It is possible to do a small boil, that’s how I got started. Boil 3 gallons of water, add your ingredients, dilute the liquid with normal water to 5 gallons, pitch your yeast, and done. As I brewed more and read more I realized it would be just as easy to brew all 5-gallons at once and it produces more even, less syrupy wort. So using my 15-gallon pot I brew this way.
Since I now do all-grain I can skip this step, but extract brewers need to full dissolve their sugars into the brew water. Bring the water to a boil, remove from heat and add your sugars. Stir vigorously, when you return to heat you don’t want to scorch the sugars. Note: I’ve read that in any extract brewing there is some degree of sugar scorching. That some of the malt is inevitable caramelized, which can make your brew darker than you perhaps intended. Bring the water back to a boil; you will need to keep it boiling for 1-hour minimum. The next part differs with recipes. There are three possible times to add hops and different quantities affect taste. The first addition occurs for all beers. Add a prescribed amount at the very beginning of the boil and allow it to boil the full 60 minutes. This is called the bittering hops. Allowing it to boil the full 60 minutes will extract all of the oils from the plant. These bitter tasting oils will counter the sweetness of the malt and preserve the beer with an oil coating. You may add hops 40 minutes into the boil, 20 minutes from the end. This is the flavoring hops, and its short boil time won’t kill the tastes. The last addition occurs 5 minutes from the end. This is the aroma hops and it produces the strong hops taste that hits you in your sinus cavity. You are more making hops tea at this point with its very short boil time. Further hops can be added once boiling concludes, or even when fermentation is over. This is called dry-hopping. Some people have voiced that too much hops can destroy a beer’s credibility, but I disagree with these folks as I am an ardent hop-head.
Literally anything can be added to the boil. Often extras are added at the 20-min mark or at the very end. A very common addition is Irish moss 15 minutes from end of boil. This is an herb that will attach itself to unwanted protein in the beer and drag it to the bottom, clarifying to beer in the process. Yeast nutrients are often added 10 min from end of boil. These are just dead yeast cells, which the live yeast will recognize and cannibalize for extra strength. It is evidently very easy for yeast to digest its dead brethren. Wit beer uses orange peel at the 20-min mark and coriander or ginger shavings at the very end to add that subtle spicy flavor. Chocolate stouts, which hops are not a vital flavor, skip the flavoring hops altogether and instead of aroma hops use baker’s chocolate at the end of boil. I’ve made many beers with adjunct sugars, sugars that aren’t malt, which is a forbidden practice by Reinheitsgebot, the German Beer Purity laws. I have added honey at the 20-min mark for wheat or Irish beers, sometimes brown sugar for Amber or Brown Ales. The most egregious of my sugar addition was a sugarcane stout I made. I added an extra pound of cane sugar at the 20-min mark and then 12oz of cane syrup during secondary fermentation.
Fermentation Equipment
The brewer’s best friend is a carboy. A carboy can be glass, plastic, stainless steel, or even wooden barrels, basically any material that won’t impart unwanted flavors to the beer it houses. It is a vessel that allows the CO2 produced by yeast out, but doesn’t allow tainting oxygen in. I have a 6-gallon glass carboy and a 5-gallon. They look like big water bottles. It is a large body with a small opening at the top. The opening is called a bunghole. It is called this because you put the bung there. The bung is usually a plastic or rubber plug. Most bungs have small hole in them for an airlock. I use three-piece airlocks. They consist of a large chamber with a tube in the center, a small cylindrical lid to place over the tube, and a cap to place over the chamber. When you fill the camber with water the tube sticks out and the cylinder over the tube gets partially submerged. The cap keeps the cylinder in place and as the CO2 is expelled, the cylinder burps it up from under the water. This allows the CO2 to flow out but no oxygen gets in to take its place. In the case of rapid volatile fermentation the air lock could explode off and expose the beer. For this the tube can be attached to a hose and the hose placed in a small bucket of water to bubble away.
Primary fermentation, the fermentation of the malt sugars, can take 4-14 days depending on the type of yeast used. When the bubbling in the air lock slow or ceases, primary fermentation is over. I use my 6-gallon keg to ferment 5-gallons of wort, because a thick yeast head is created which can clog the air lock. It is not necessary, but I transfer my beer with a siphon system from the 6 to the 5-gallon carboy for aging or secondary fermentation. Sometimes I’ll let the beer sit another week before I prep it for consumption and sometime, as in the case of the sugarcane stout, I’ll boil some type of sugar, for purity, cool it and add it as I transfer the beer. This will kick up the fermentation once again and impart some flavors into the brew. When doing secondary fermentation you might need to wait a bit longer as the siphoning left behind a large quantity of yeast. You must allow the remaining yeast to do its job.
Subscribe to:
Post Comments (Atom)
No comments:
Post a Comment